Installation and updates of SwEx.AddIn Framework for SOLIDWORKS add-ins
Installing NuGet package
Select Manage NuGet Packages... command from the context menu of the project in Visual Studio
 { width=250 }
Search for CodeStack.SwEx in the search box. Once found click Install button for the required framework.
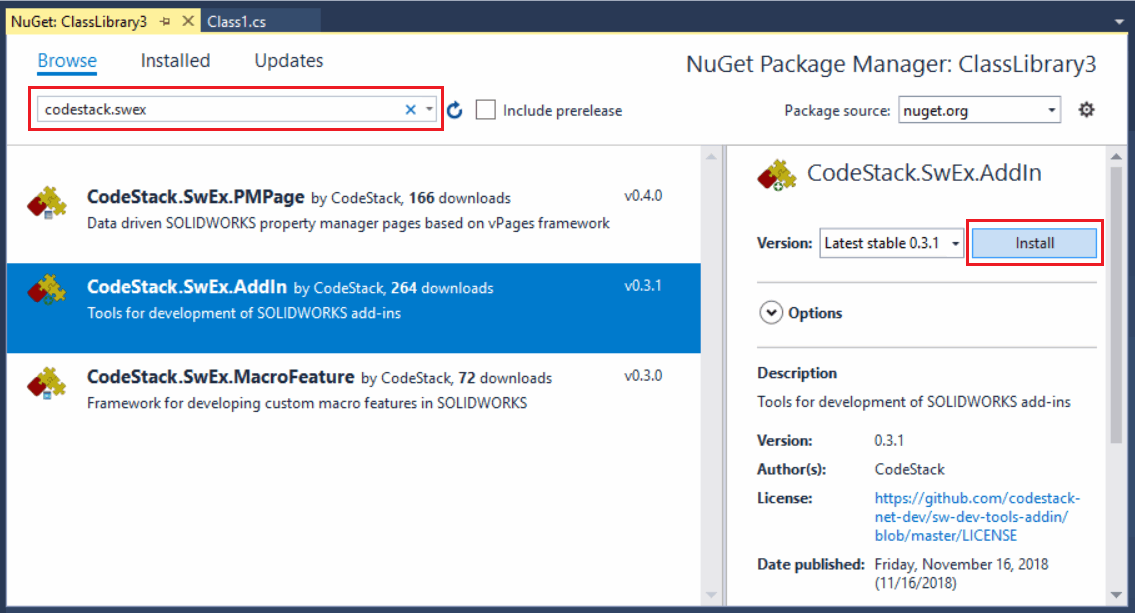
This will install all required libraries to the project.
Preparing the project
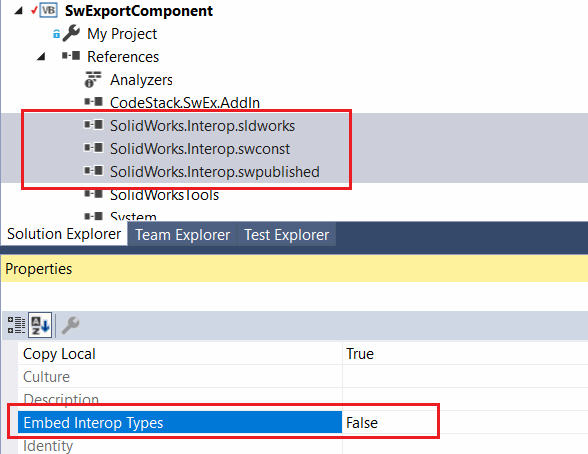
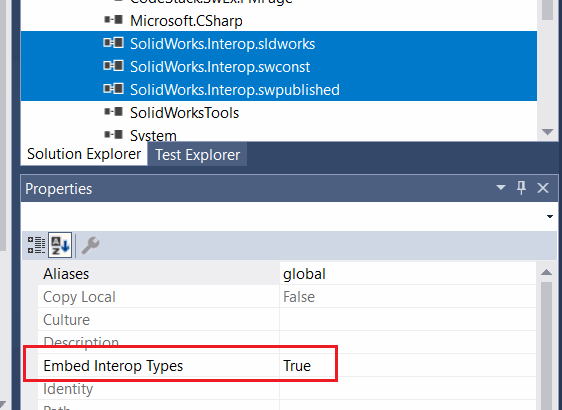
Set the Embed Interop Types to False for the SOLIDWORKS Interop libraries as shown below.
 { width=300 }
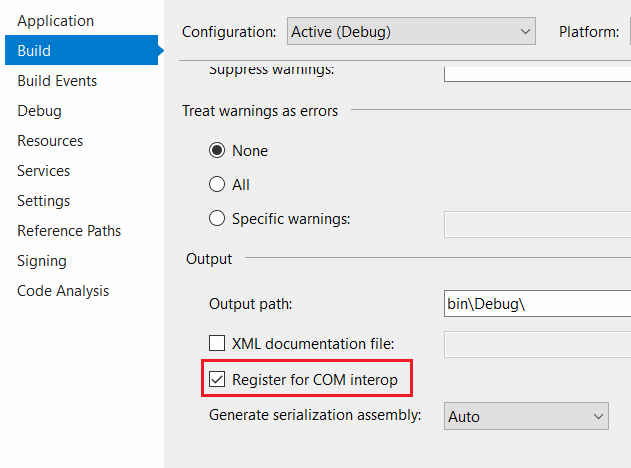
Check the Register for COM Interop option in project properties:
For C# project this option can be found in Build tab:
 { width=300 }
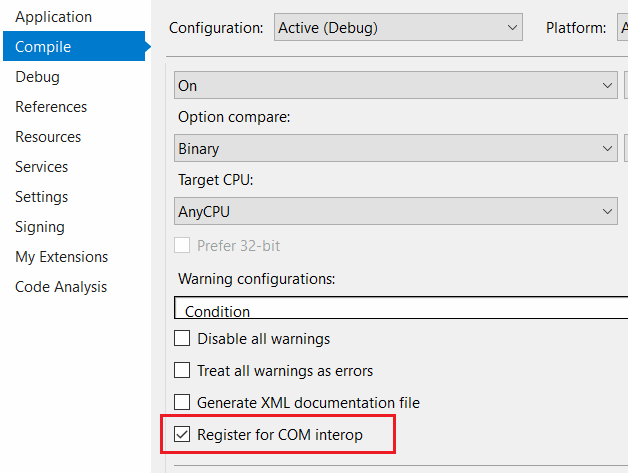
For VB.NET project this option can be found in Compile tab:
 { width=300 }
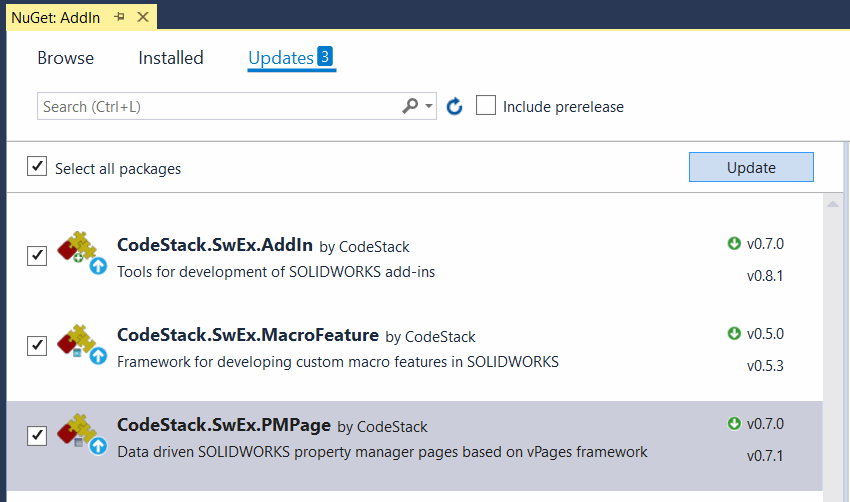
Updates
SwEx framework is actively developing and new features and bug fixes released very often.
Nuget provides very simple way of upgrading the library versions. Simply navigate to Nuget Package manager and check for updates:
In order to see the release notes, follow the links below for the corresponding library.
In some cases updating the libraries may reset the Embed Interop Types option to True for SOLIDWORKS interop assemblies.
 { width=350 }
It is recommended to set it back to False.
Supporting multiple versions of the SwEx framework
Methods signatures and behaviour of SwEx framework might change in new versions. SwEx libraries are strong named which prevents the compatibility conflict in case several add-ins loaded in the same session of SOLIDWORKS referencing different versions of framework.